
Snags are one of the most common forms of clothing damage, but they are also one of the easiest to fix when handled correctly. Most snags can be repaired without sewing, cutting, or leaving visible marks, if you know the right technique.
If you want the full repair system and prevention framework, start with the main guide:
how to fix fabric snagging
Why Snags in Clothing Should Never Be Cut
Cutting a snag may seem like a quick solution, but it weakens the surrounding fabric and often causes the area to thin, fray, or form holes over time. Proper repair always focuses on repositioning the fiber, not removing it.
If you are unsure how to do this safely, follow how to remove snags without cutting the thread before attempting any fix.
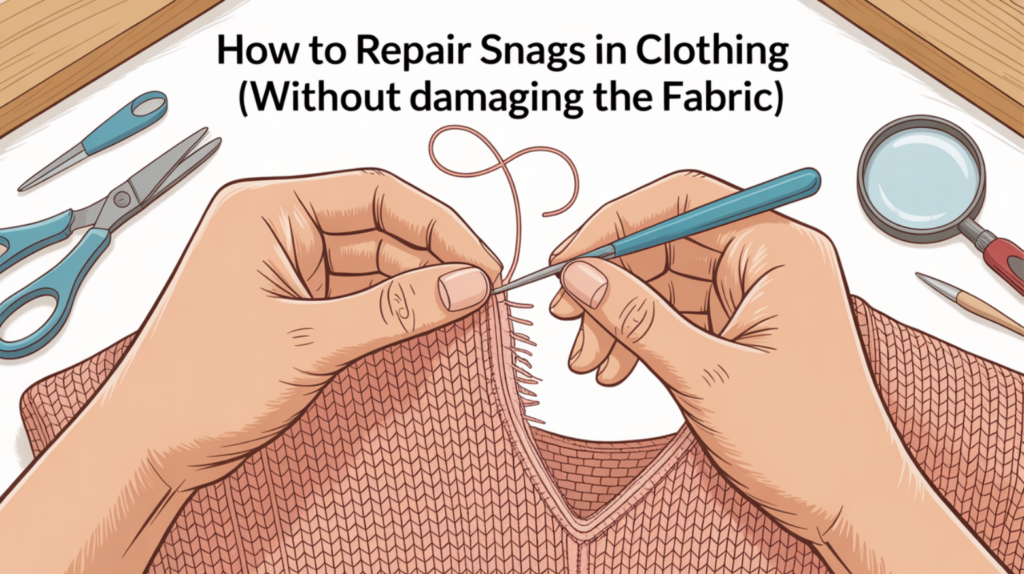
Step-by-Step: How to Repair Snags in Clothing
1. Place the Garment on a Flat Surface
Lay the clothing on a smooth surface and gently flatten the area around the snag.
2. Insert a Needle Near the Snag
Push a fine needle or snag tool through the fabric close to the base of the loose fiber.
3. Pull the Snag to the Inside
Hook the snag and carefully pull it through to the back side of the garment.
4. Redistribute the Fiber
Gently massage the fabric with your fingers until the surface becomes smooth and the fiber blends back into the weave.
This is the same core technique used in how to fix snagged fabric, with extra attention paid to visible areas of everyday clothing.
5. Smooth the Fabric
Light steam or gentle pressing helps relax the fibers and remove faint marks.
Repairing Snags on Specific Clothing Types
Some garments need additional care:
- Sweaters & knits – use the loop-control method in how to fix snagged sweaters and how to fix snags in knit fabric
- Delicate fabrics – apply minimal tension and avoid stretching
When Clothing Snags Become Serious Damage
If a snag continues to pull or the fabric begins to thin, professional repair may be needed. However, early repair usually prevents this.